A document is an essential part of every eSignature operation. It’s impossible to send a signature request without selecting or uploading a document to your signNow API account first.
If you’re new to the concept of the signNow API, make sure to check out our ultimate guide to the signNow API to get a better understanding of how it works. You can also learn more about real-life signNow API use cases provided by our customers across different industries – digital lending, medical insurance, remote online notarization, sports, etc.
How to upload a document using the signNow API
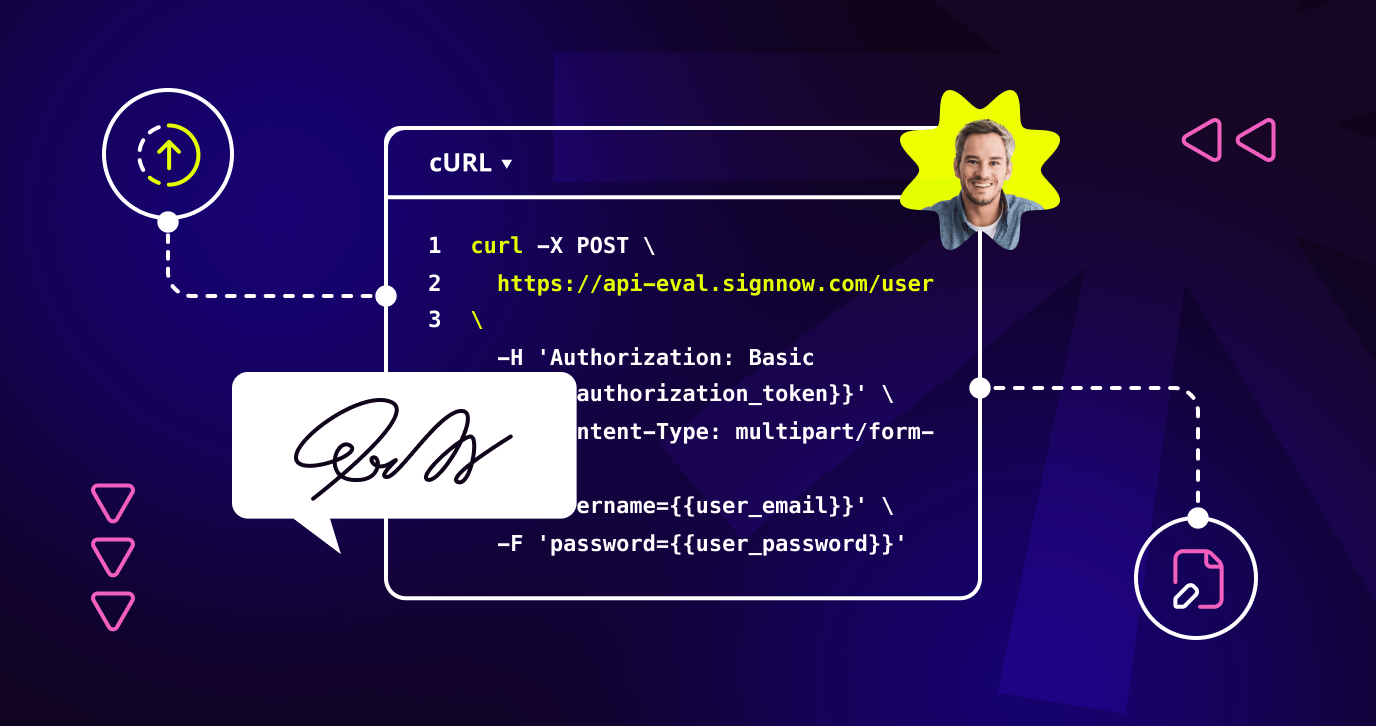
The POST https://api.eval-signnow.com/document request uploads a file to the user’s account and returns a unique id for the uploaded document.
It’s possible to upload documents having DOC, DOCX, PDF, XLS, XLSX, PPT, PPTX, and PNG file types. The maximum file size per upload is 50 Mb. The same limit applies to attachments uploaded by signers via the signNow editor.
|
1 2 3 |
curl --location --request POST 'https://api-eval.signnow.com/document' \ --header 'Authorization: Bearer {{access_token}} \ --form 'file=@"/path/to/file"' |
1. Generate access token
To begin, you’ll need to generate your access token. Please, see the video below for step-by-step instructions on how to do that:
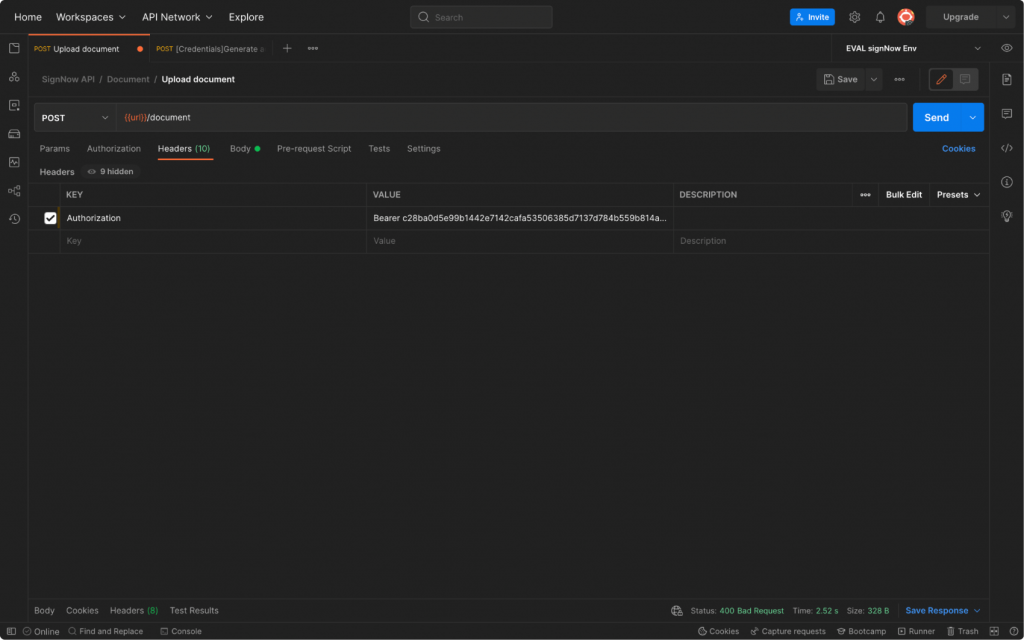
Next, open a new tab and switch to POST. Enter the post endpoint as follows and set up the headers.
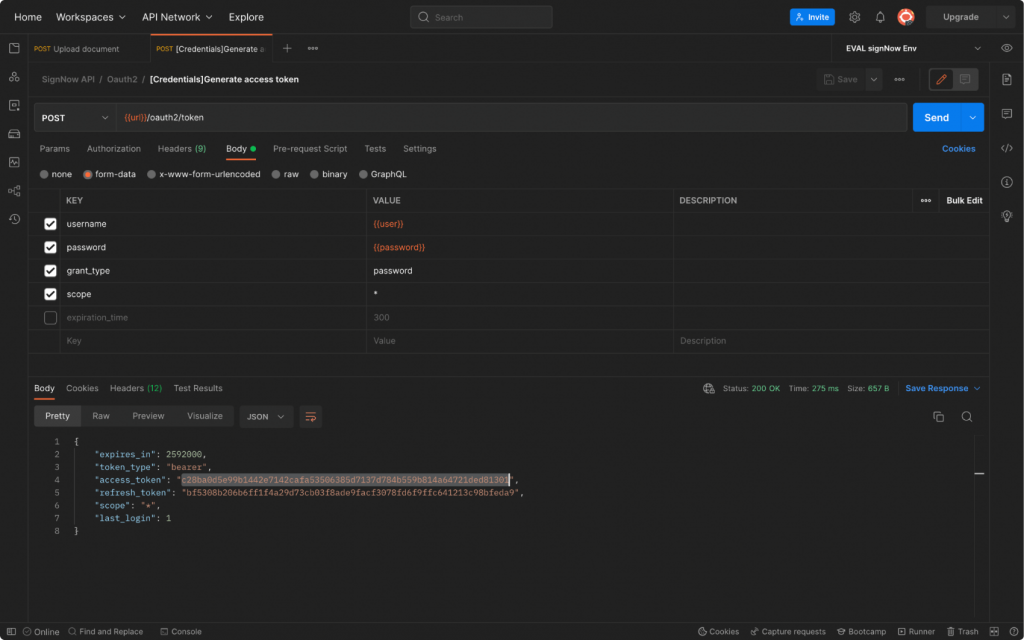
The Value field must contain Bearer, followed by the access token you’ve created.
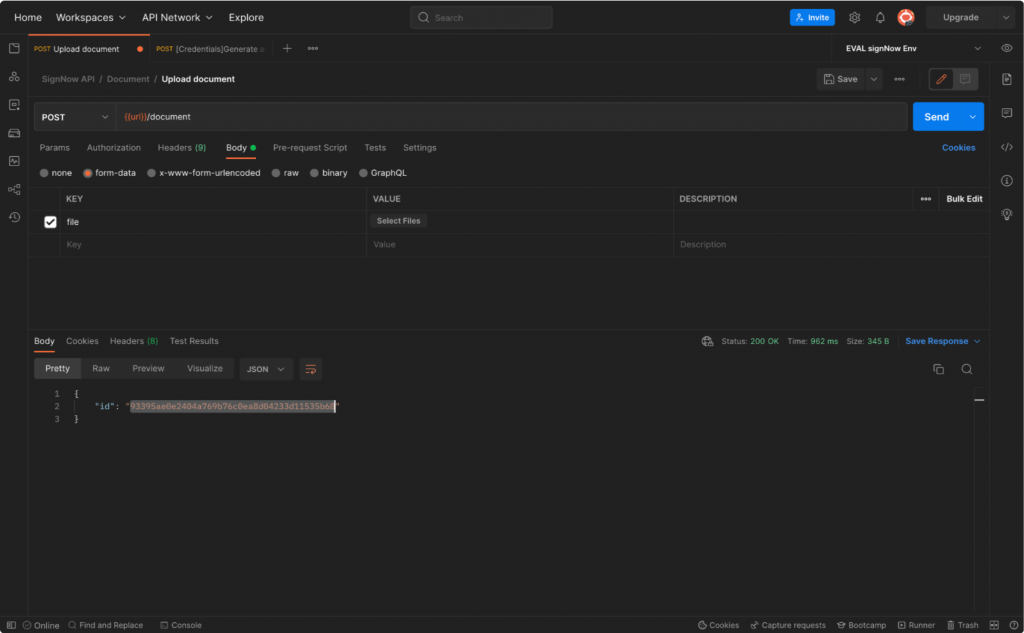
2. Upload a document
In the body of the request, select form data, switch the Text parameter to File, enter the file parameter, and click Select Files to add the document that you want to upload.
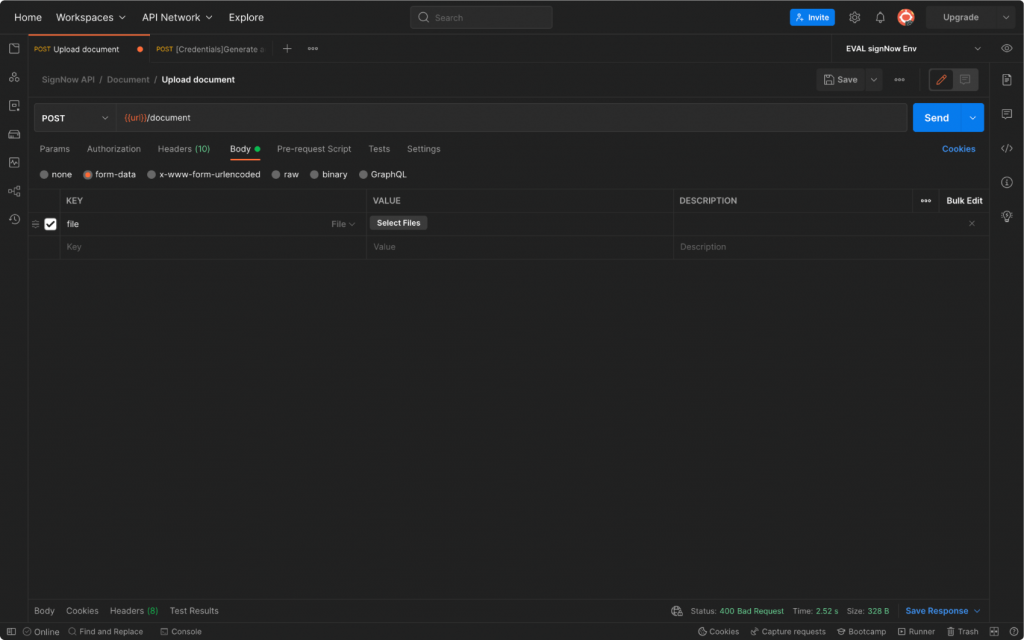
Now, simply send the request and get your document ID in response.
Head back to your signNow account and reload the page to see if the document has been successfully uploaded.
Watch the step-by-step instructions in the video below:
How to edit a document using the signNow API
The PUT https://api.eval-signnow.com/document/{document_id}request adds fields to a document. Users can add or remove fields in a document and assign them to a particular signer. Fields can be marked as required. Doing so ensures signers won’t be able to send their signed copies without filling in those fields.
In our previous blog, we covered how to add signature fields and set signing roles using the signNow API.
Every field is an object that contains field properties such as ID, role, label, name, etc., described in the fields array. The content of a field can be found in texts, signatures, or checks (checkboxes) arrays based on the type of data that’s been filled in. You can retrieve all the values from Text, Dropdown, Calculated, Hyperlink, or Date fields from the texts array.
Each field has its own ID. You can find it as an element_id parameter in the fields array.
When the field is completed, it appears in the texts array with an id parameter equal to element_id from the field array.
Code sample:
|
1 2 3 4 5 6 7 8 9 10 11 12 13 14 15 16 17 18 19 20 21 22 23 24 25 26 27 28 29 |
curl --location -g --request PUT 'https://api-eval.signnow.com/document/{{document_id}}' \ --header 'Content-Type: application/json' \ --header 'Authorization: Bearer {{access_token}} \ --data-raw '{ "document_name": "new_name", "fields":[ { "x":305, "y":18, "width":122, "height":34, "page_number":0, "role":"Signer 1", "required":true, "type":"signature" }, { "x":307, "y":67, "width":60, "height":12, "page_number":0, "label":"a sample label", "role":"Signer 1", "required":true, "type":"text" } ] }' |
How to delete a document using the signNow API
The DELETE https://api.eval-signnow.com/document/{document_id} request is used to delete a document from a user’s account.
|
1 2 3 |
curl --location -g --request DELETE 'https://api-eval.signnow.com/document/{{document_id}}' \ --header 'Authorization: Bearer {{access_token}}' |
When the document is deleted, you will get ”success” in response.
For more information on the signNow API, its features, and references, please view our detailed documentation.