How much time does your Sales team spend on closing deals? When customers have to print out a document, physically sign it, and then mail or fax it back to the sender, or even meet a sales representative in-person to physically sign it — they often second-guess their decision to purchase with you.
By automating sales cycles, you boost team productivity, close deals faster, and engage with your customers sooner. Accelerating your sales cycles allows you to keep your business moving forward by automating even the most complex sales processes.
signNow teams allow you to send, sign, and manage documents across your entire organization. The team admin can manage and create templates for team members and monitor the status of documents that have been sent out for signing. The team admin can also add or remove people from their team.
How to Bulk send Sales documents for signing with Team Templates
Here are some tips Sales teams can use to save time and money with signNow’s eSignature solution.
Eliminate unnecessary hassles in your workflows by creating templates for your most used documents and collaborating on them with your teams.
With Templates you can:
- Reuse your most common documents and forms
- Create complex signing sessions with multiple roles and steps
- Get multiple individually signed documents by generating signing links
- Send documents for signature in bulk
How to create a Team Template
Let’s start by creating Template. In your signNow dashboard, click Make Template right on a document or click Make Template from the More options dropdown. All your templates are stored in the Templates folder on the left sidebar.
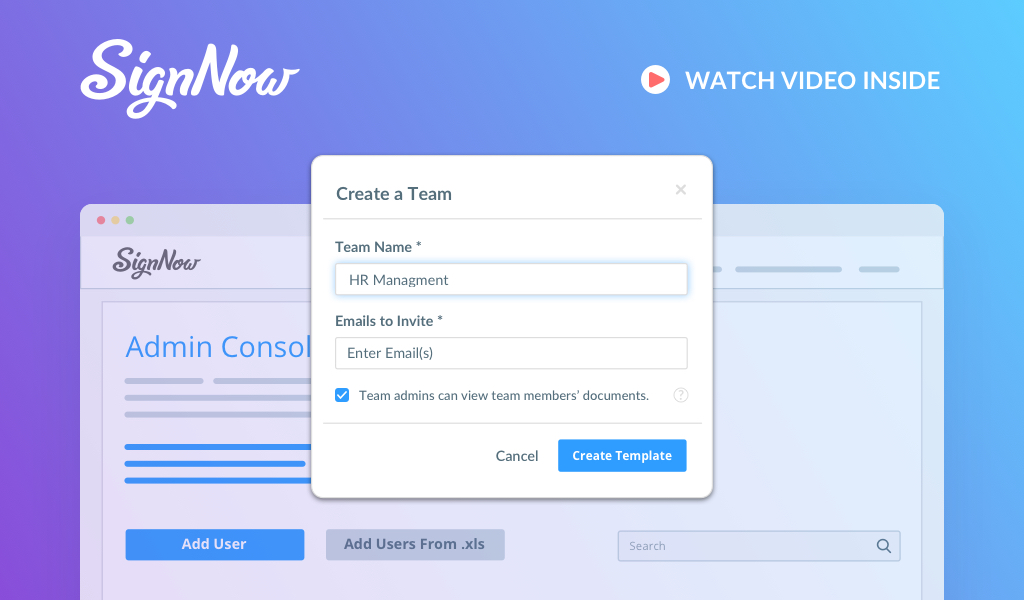
You can also simplify the process of collaborating on documents and templates by creating a team. To do so, go to the My Teams tab, click Create Team, name your team, and enter team member emails to invite people to it.
When your team has been created, you can manage it, view shared documents and templates, invite new people to your team, or cancel invitation requests.
Watch the video below for detailed instructions:
Let’s see what else you can do with signNow.
There are two types of fields when creating a document in signNow:
- editable (for document senders)
- fillable (for document signers)
Each field is assigned to a specific role. You can set each field as required or optional and specify which data types are valid for that field. If you need to sign a document before sending it, add your signature any way you like. Type your full name, draw a signature using your mouse or trackpad, or upload an image of your handwritten signature
Choose whether you’d like recipients to receive your invite in the order they’re signing the document or at the same time. Сustomize invite emails, protect your document by adding additional authentication methods, set up a document expiration date with automated reminders, allow your recipients to forward the document, or even decline your invite. Select what to do with a signed document, including deciding who needs copies.
Use Document Groups if you need to bundle documents together, send a group of documents to a single signer, or create signing steps for multiple signers across multiple documents. To start collaborating on documents, create a team and invite your colleagues. As the team admin, you can add or delete users, view shared documents and templates, and much more.
Visit our Help Center if you need more help with signNow. Start a live chat or submit a new support request and our support team will contact you as soon as possible.
Originally published in June 2018 and updated for comprehensiveness in April 2023