Exploring the signNow API Dashboard: Send your first eSignature invite via the API
One of the indisputable benefits of the signNow API is the simplicity of the setup process. As mentioned in our recent definitive guide to the signNow API, you don’t have to contact support or sales representatives to get hands-on experience with the API.
Creating a Sandbox account and testing the essential API calls is completely free of charge. As soon as you have a grasp of the basic features, you can easily subscribe to a suitable API plan and create your first eSignature integration. Start with a full-featured free trial that includes 250 legally-binding signature invites! You won’t start a paid subscription until you’ve used all your free invites.
In a series of blogs, we’ll walk you through the different aspects of the signNow API. In this article, we’ll be taking a closer look at the signNow API Dashboard and the metrics you can track there. Let’s get started!
signNow API Dashboard: A quick overview
The signNow API Dashboard enables developers to track the health of their integrations, including API requests sent to the signNow platform. Here’s how the API Dashboard lets you track the health of your apps:
- By providing detailed reports of failed API requests to conduct troubleshooting
- By logging specific API calls made for an integration that can be filtered by time intervals and response codes
- By offering details about failed requests that help you to investigate and troubleshoot
The signNow API Dashboard contains the following sections:
- The Keys section contains all your apps listed along with their Basic Authorization tokens. Every time you add a new app, the Basic Authorization token is generated automatically in this section.
- The Logs section lists all your API calls with the data that helps to identify the call: the date and time it was sent, the method used, the URL involved, and the status (response) it received.
- The Webhooks section contains a list of your active event subscriptions. You can check up on every event, the date it was created, the entity ID involved (a user ID or document ID which triggers the event), the callback URL specified (where to send data after the event triggers), and the action required.
- The Plan Usage section contains all the statistics regarding your API plan. To get more details on your API plan and monthly invoices, click Invoices next to the plan title to check the list.
Take a closer look at the video below to access step-by-step instructions on how to operate the signNow API Dashboard:
How to get started with the signNow API
- Create a Sandbox account
Go to the signNow developers page, enter your email address, and click Create my API Sandbox. You will instantly receive an email containing an activation link. Follow it and set up a password to access your personal API dashboard. - Explore the API Dashboard
Once your account is created, you will be redirected to the signNow API Dashboard. Here you can access the Dashboard anytime by clicking the API button on your signNow home screen.
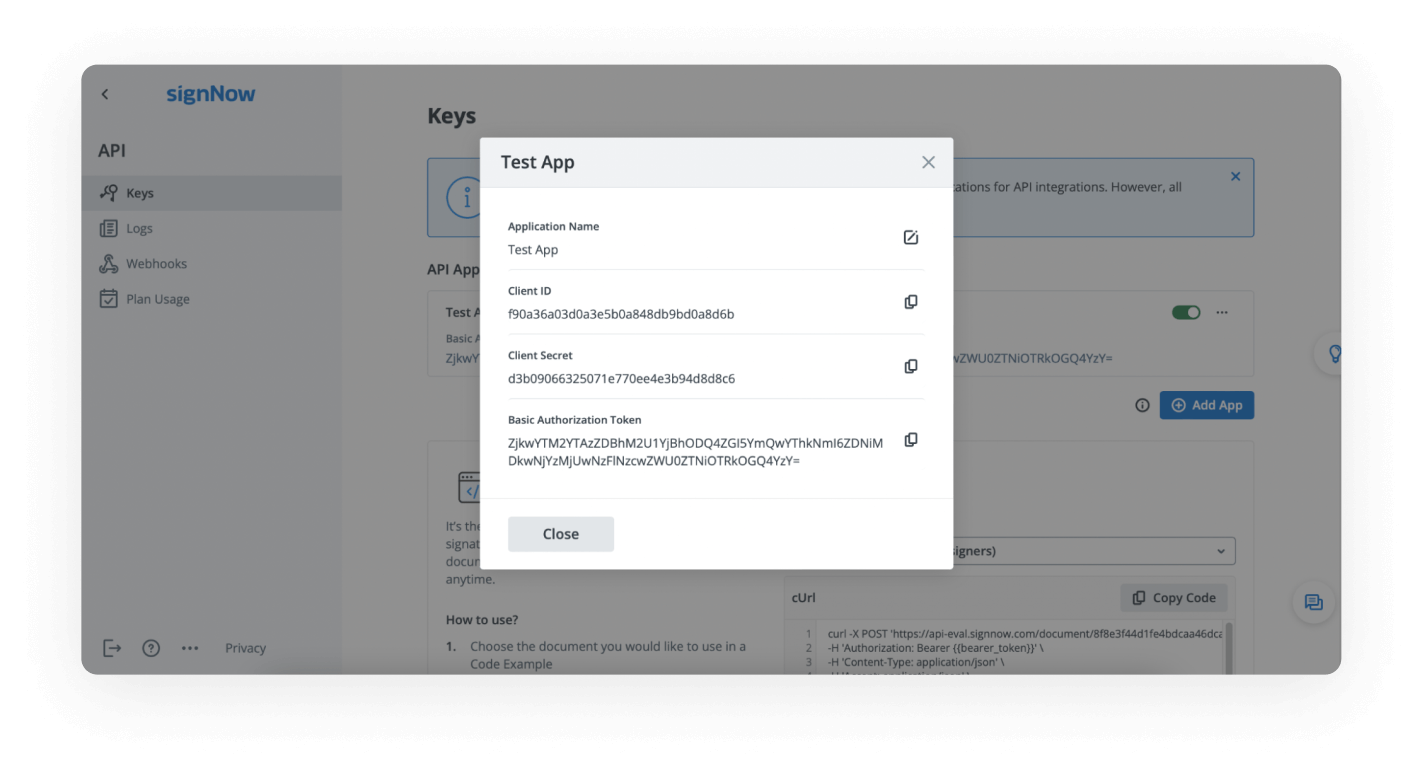
Inside the dashboard, in the Keys section, you’ll find your test app. Click on it to see your Client ID, Client Secret, and Basic Authorization Token (generated automatically). You can also add your own application for testing by clicking the Add App button.
Your dashboard is the best place to start exploring the signNow API as it provides you with your app’s credentials and code examples that you can freely test. But before testing an API call, you need to create a Bearer token. - Generate a Bearer token
A Bearer token is an authentication code that identifies you as a user in the system. To generate a token, send a POST request to the /oauth2/token endpoint.
You will receive a response containing your Bearer access token. Please note that it expires in 30 days, so you’ll need to refresh it. - Send an eSignature invite via the API
Go to the API Dashboard. Your account comes with two documents by default which you can use when testing the signNow API (with one or two signer roles that are already configured). Select one and then copy the cUrl from the Code Examples section and run the code with your API management app.
Note: Don’t forget to insert your Bearer token into the request (the access code you obtained from the previous step).
Check your email. If the code has been run correctly, you will find your eSignature invite in your inbox right away. Please note that documents signed in test mode are not legally-binding. - Move on to the production environment
Once you have tested the signNow API in the sandbox environment, you can go live whenever you’re ready. Hit Go to the API Production in your API dashboard and select your subscription plan to enable legally-binding eSigning for your software products.
Exploring the signNow API Dashboard
Once you have created your Sandbox Account, you’ll get access to a Test App along with Client ID, Client Secret, and Basic Authorization Token.
Take note: All signature invites sent in a Sandbox account are not legally-binding.
Also, you can add your own app for testing by pressing the respective Add App button.
It’s possible to activate or deactivate your app at any time by switching the toggle on the right, as well as edit the app’s title or delete it permanently.
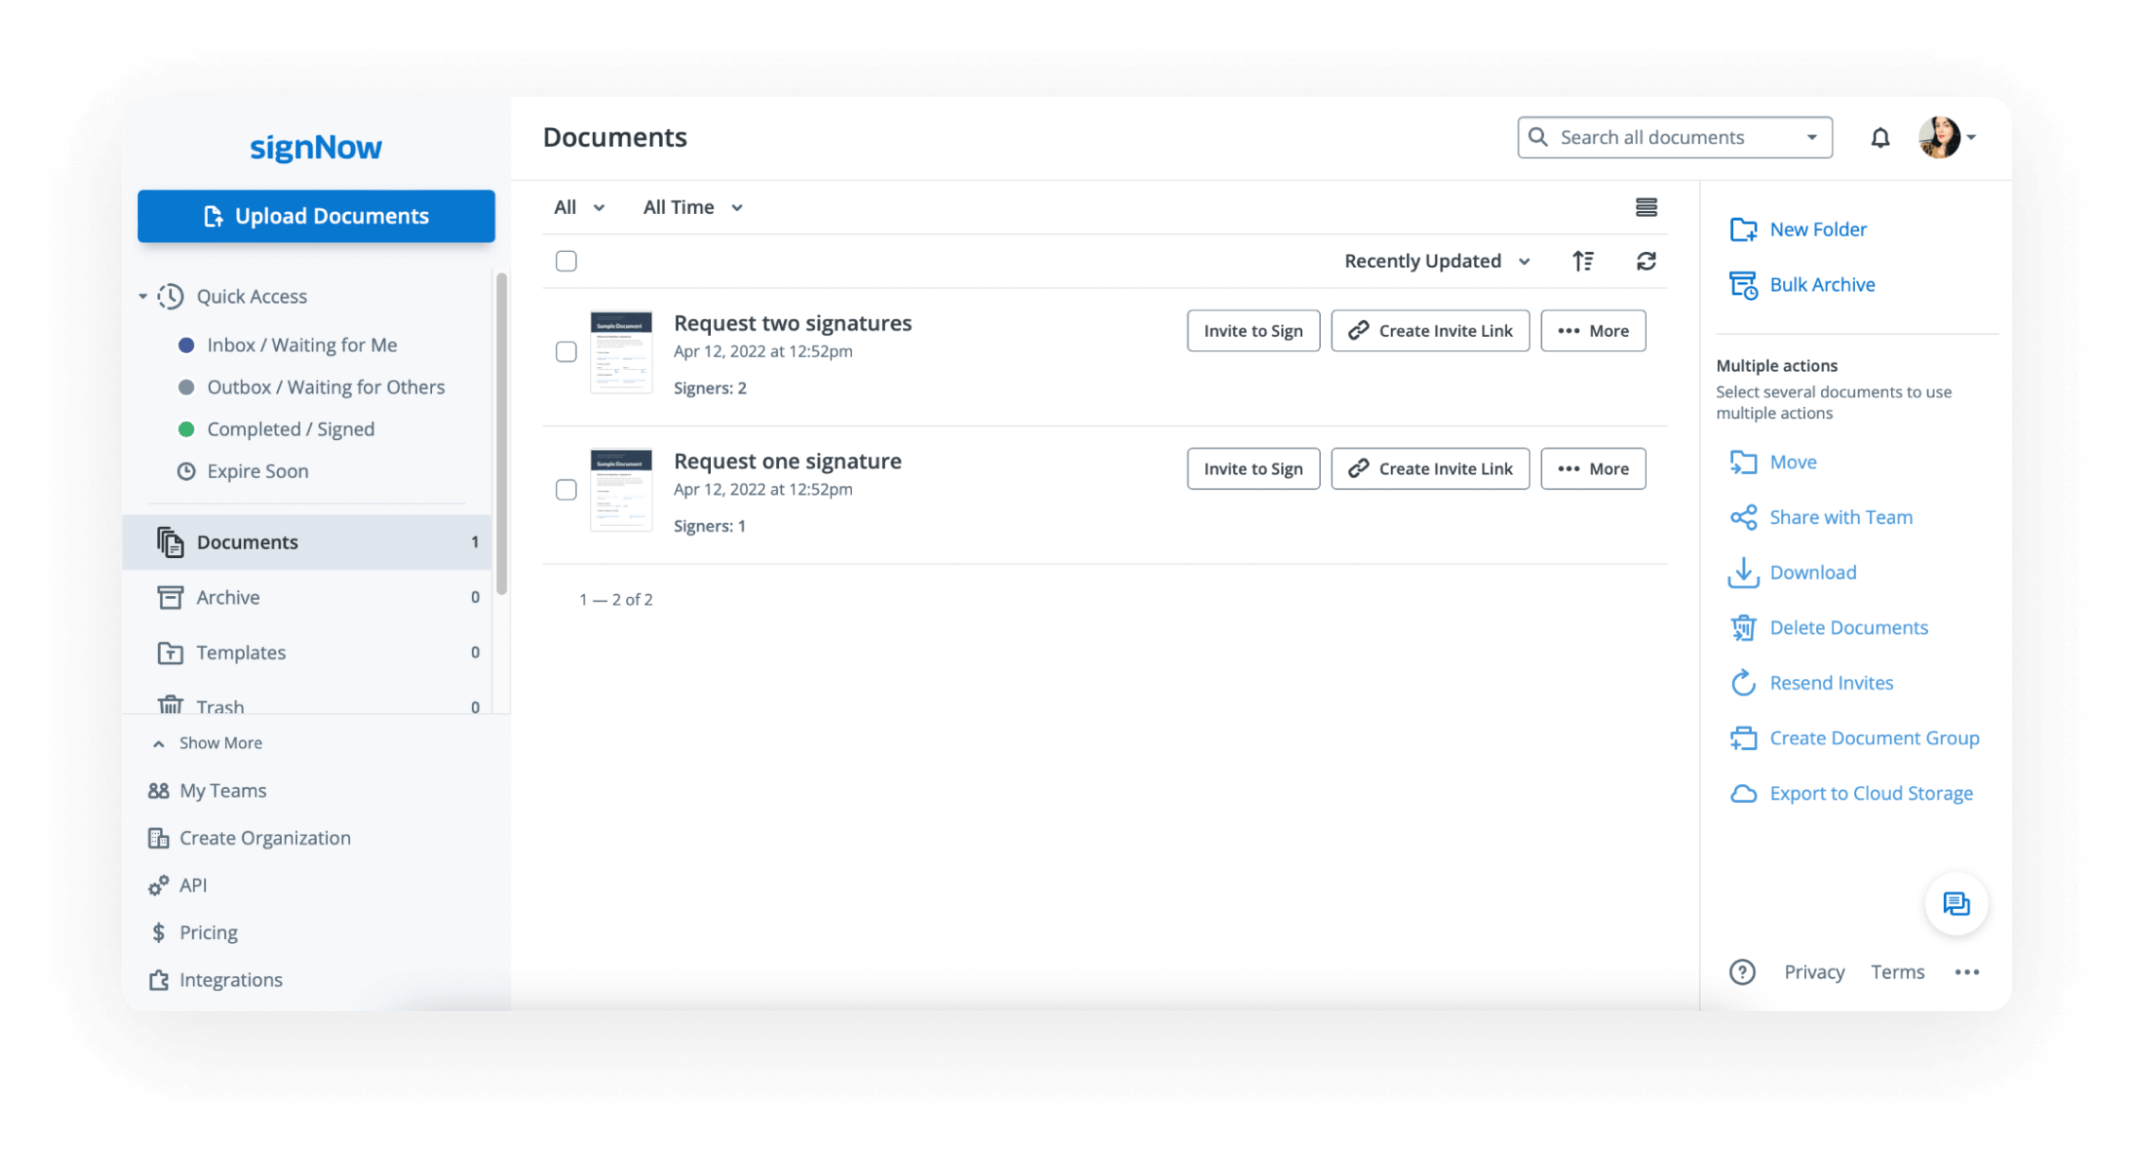
Now let’s go over the different sections of the Dashboard and find out what they’re for. To access the documents section, click on the arrow in the top-left corner of the screen.
There are two documents in your account by default — one for a single signer (Request one signature) and one for two signers (Request two signatures).
Code Examples
The Code Examples section contains instructions for sending your first signature invite.

Every time you select a document from the dropdown menu, the document id parameter is automatically populated with its respective value. What’s more, cURL already contains your email address as well as a default invite message and subject. All you have to do is add your Bearer token and correct the recipient’s email.
Every time an API request is sent, it is automatically saved to the Logs section of your API Dashboard. Each log entry is retained for 30 days. You can filter your Logs by app, date, method, URL, or status.
Now we’ll move on to the Webhooks section. It displays your active event subscriptions. Once a subscription is created, a callback is sent to the specified callback URL every time an event occurs. In this tab, you can find a list of event subscriptions and their details.
Finally, the Plan Usage tab of the API Dashboard lists your subscription details, including invite logs, monthly statistics, and the number of signature invites you can send out.

In this section, you can view the number of signature invites you have sent and the total number of invites you’re allowed to send according to your subscription plan. The name of your subscription is displayed here.
Click the Invoices button to view your billing history. Finally, you have the possibility of generating and downloading a usage report for the selected date range.
For more information on the signNow API, its features, and references, please view our detailed documentation.