
With signNow, you have the flexibility to manage eSignatures from any device, including your personal computer, smartphone, or tablet. For iPhone and iPad users, the signNow app for iOS can be downloaded from the Apple Store, providing a seamless and effortless signing experience. Learn how to sign a document on iPhone or iPad using signNow below:
Install the signNow app
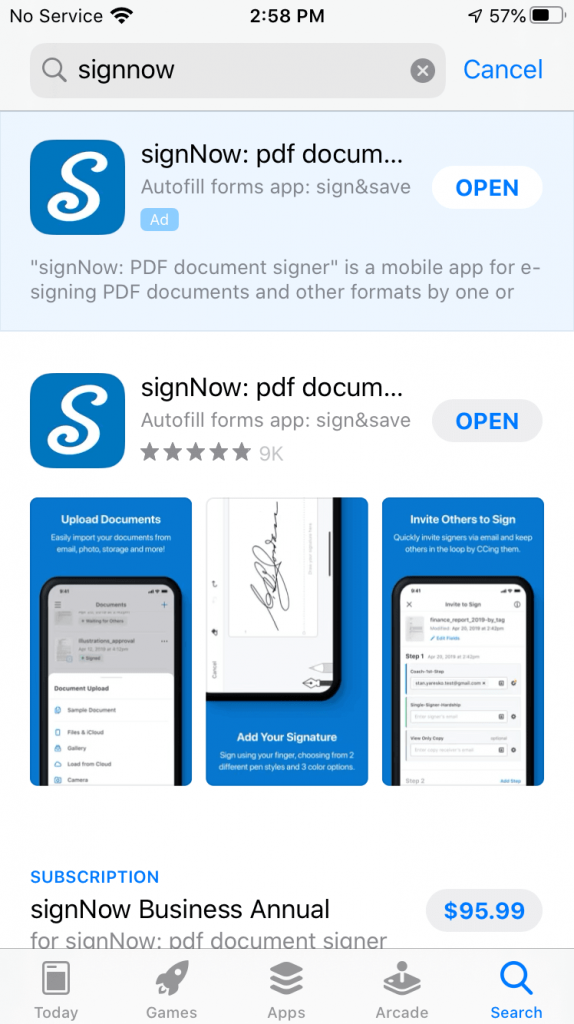
Go to the Apple Store and enter “signNow” in the search tool. Once you find the signNow app, tap Get. Then, open the app.
Sign up or log in to your signNow account
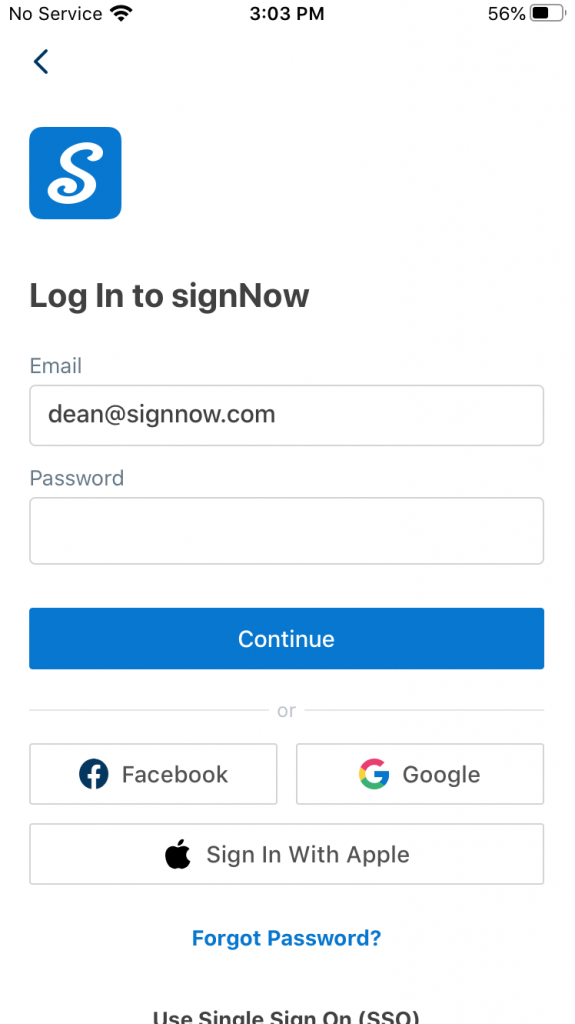
If you are new to signNow, go ahead and create your account. If you are a registered user, log in with your signNow credentials. You can also sign in via your Google, Facebook, or Apple account.
Upload a document
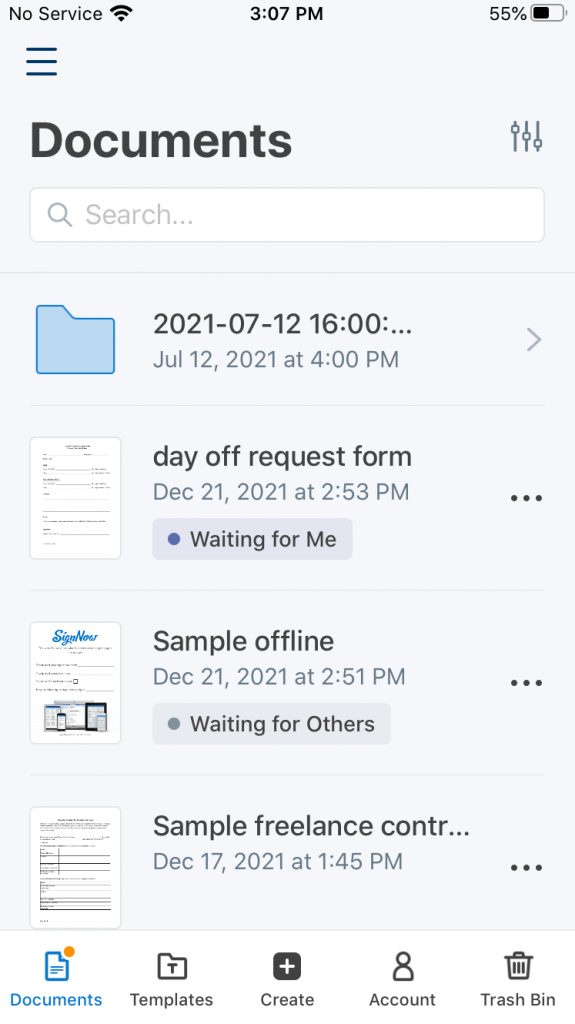
Tap Create in the bottom panel of the signNow app.
Check out the upload options
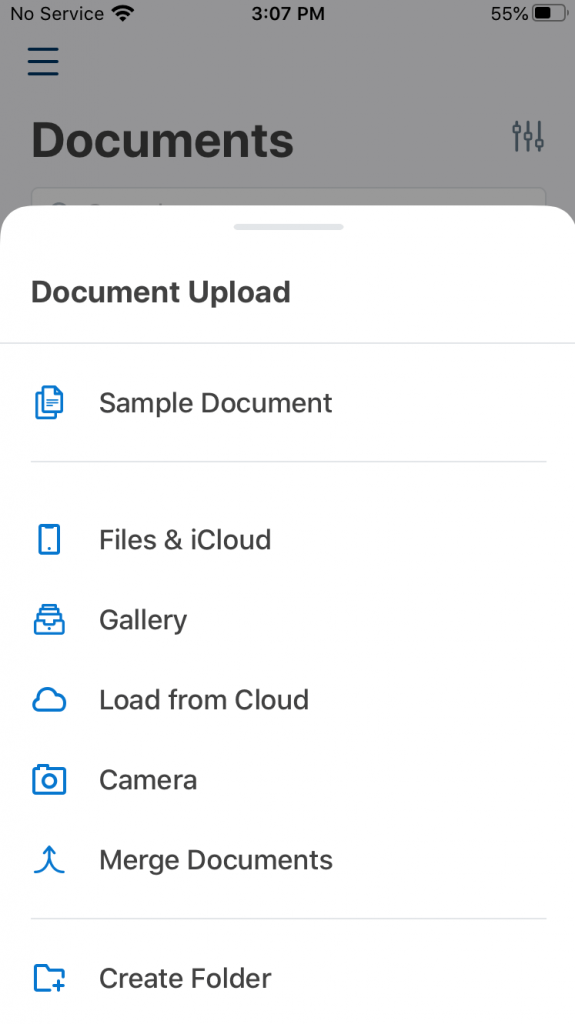
Select how you want to upload a document. You can upload a file from your device, gallery, iCloud, or third-party cloud storage. You can also take a photo of your document with a digital camera and upload it right away.
Add your eSignature in the editor
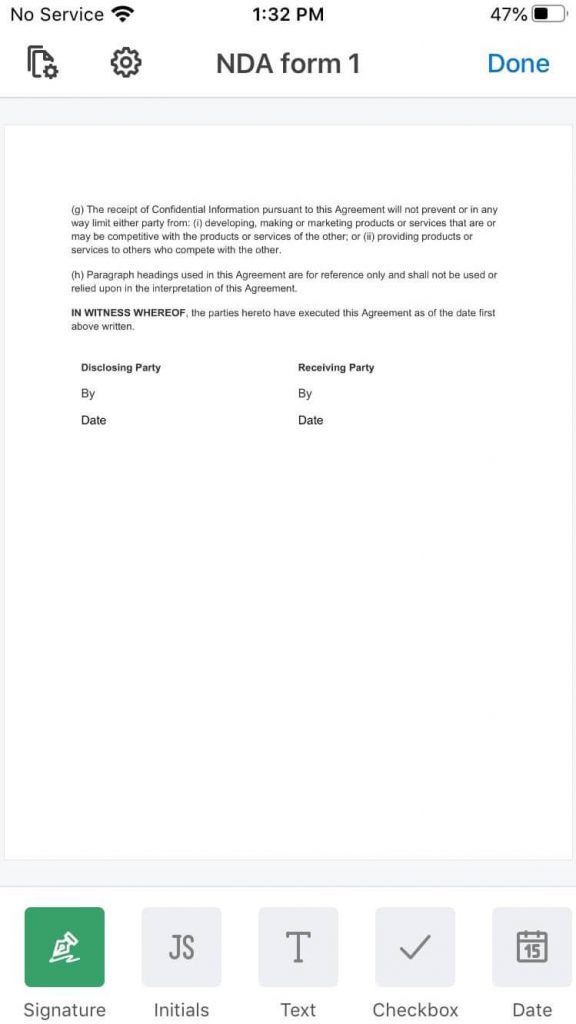
Open the document you’ve uploaded. Select Signature in the editor’s bottom toolbar and tap on the document where you need the signature to appear.
Finalize your signature
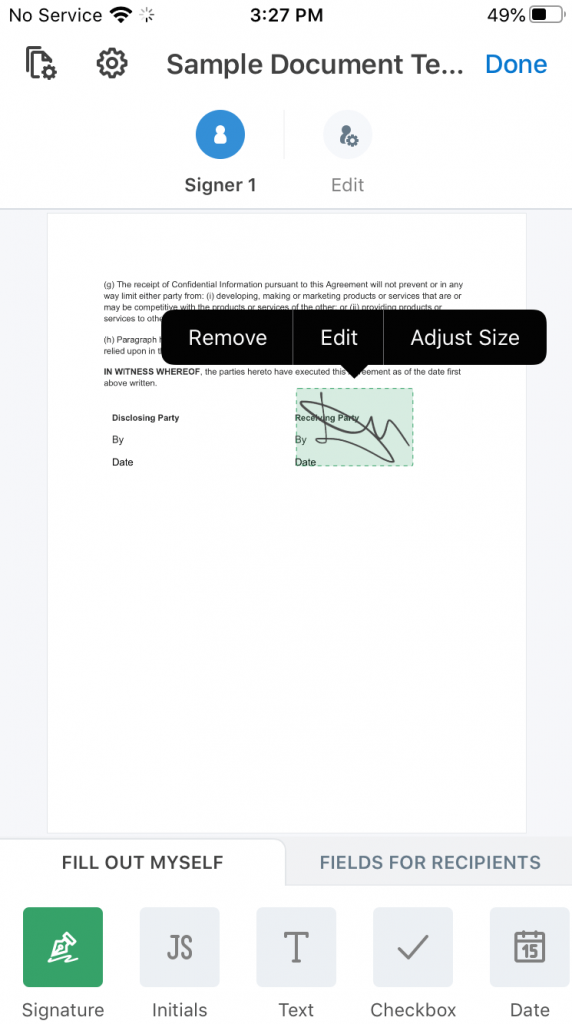
Your signature is now added to the document. Tap on the signature image to resize, edit, or remove it. Drag your signature across the page with your finger to adjust its positioning.
Save your changes
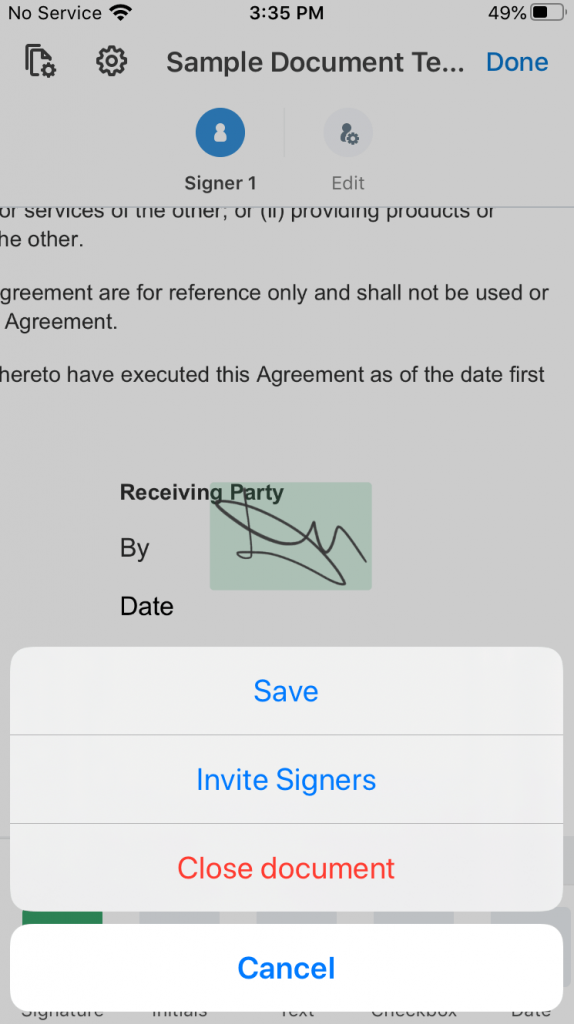
Once you’ve finished, tap Done -> Save to save your signed document. You can then download the document, send it via email, or export it to the cloud if needed.
Also, check out our other blogs to learn how to text message signatures on mobile with signNow and how to use Kiosk Mode on mobile devices.
Watch the video below to learn how to sign documents on iOS devices using signNow:
Originally published in July 2017, updated in March 2023 for accuracy and comprehensiveness

