signNow is an award-winning eSignature solution that is easy to integrate with your .NET Core application. In this blog, we’ll cover the signNow .NET SDK fundamentals to get you started with the signNow API.
signNow .NET SDK fundamentals
The signNow .NET SDK supports .NET Framework 4.5+ and .NET Standard 2.0 class library, it runs on Windows, Linux, and macOS. This flexibility, when it comes to support for operating systems and .NET runtimes, allows developers to conveniently create their solutions for both .NET Framework and .NET Core / .NET 5.
Moreover, the support of .NET 4.5+ and .NET Standard 2.0 allows for integrating signNow projects with legacy code and eliminates the need to resolve backward compatibility issues or rewrite the signNow eSignature integration from scratch when upgrading a project to .NET Core or .NET 5. We made sure that developers did not need to rewrite their code to work with signNow when upgrading your project or moving from one operating system to another.
How to install the signNow .NET SDK
To get started with the signNow functionality, just install the signNow .NET SDK from the Nuget repository.
|
1 2 3 4 5 6 7 8 |
## Using .NET CLI dotnet add package SignNow.Net --version 0.9.0 ## Using Package manager PM> Install-Package SignNow.NET -Version 0.9.0 ## Reference package in your solution <PackageReference Include="SignNow.NET" Version="0.9.0" /> |
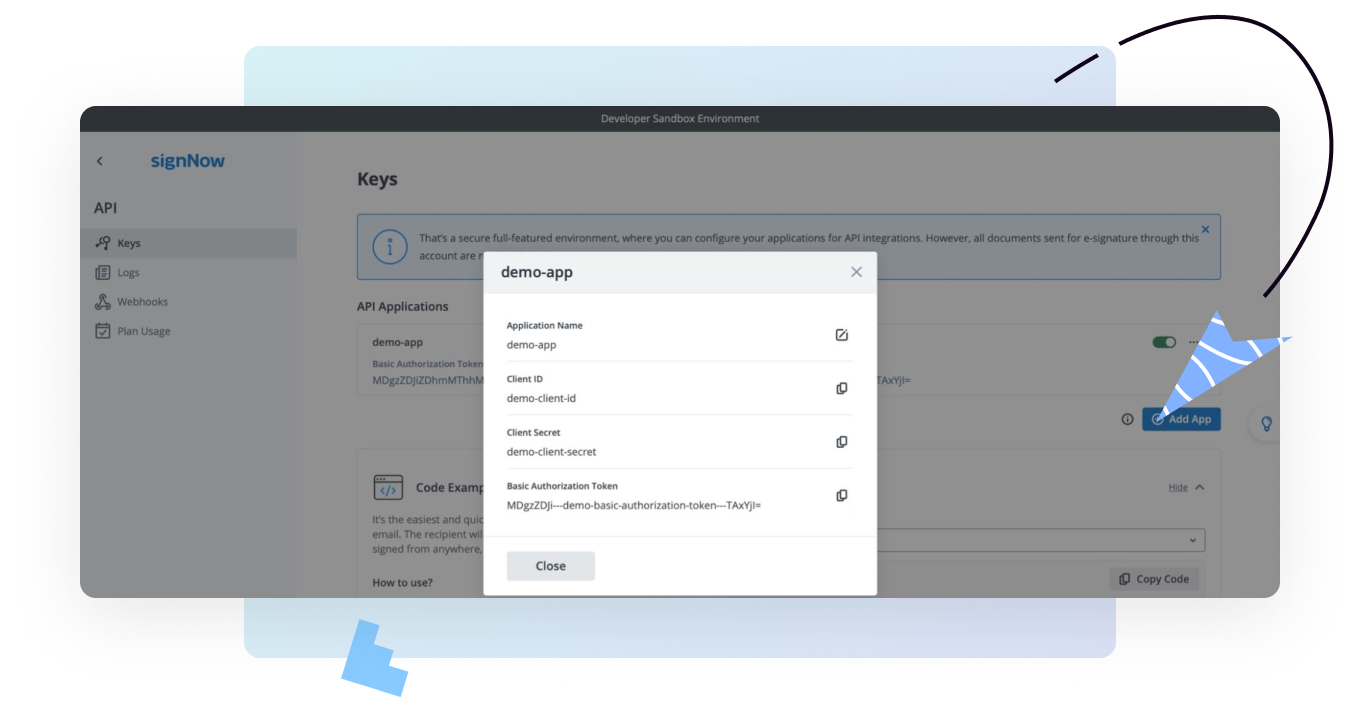
Also, to work with the signNow API, an Application Client ID / Client Secret is required, which can be obtained by creating an Application in a signNow account (for more details, see the signNow .NET SDK documentation).

Authorization
To work with the signNow functionality, authorization is required. Using the SDK, a developer can easily get authorized access from their application. In the example below, we use the Client ID / Client Secret obtained by creating a demo-app in the signNow API admin panel (actual Client ID and Client Secret will look different, we will use demo stubs to illustrate the example).
|
1 2 3 4 5 6 7 8 9 10 11 12 13 14 15 16 17 18 19 20 21 22 23 |
// SignNow API base URL. // Sandbox: "https://api-eval.signnow.com" // Production: "https://api.signnow.com" Uri apiBaseUrl = new Uri("https://api-eval.signnow.com"); // Client ID / Client Secret from your signNow API account // Client ID from your App credentials string clientId = "demo-client-id"; // Client Secret from your App credentials string clientSecret = "demo-clien-secret"; // Your user email and password string userLogin = "your-username@your-company.com"; string userPassword = "your-strong-secret"; // Create OAuth 2.0 service. var oauth = new OAuth2Service(apiBaseUrl, clientId, clientSecret); // Obtain access token var token = await oauth .GetTokenAsync(userLogin, userPassword, Scope.All) .ConfigureAwait(false); |
One important thing to keep in mind when creating an OAuth2Service without explicitly passing apiBaseUrl, is that we assume you will be using a Production signNow Application, not a Sandbox Application. In other words, if you want to test your solution with signNow’s Sandbox, you’ll need to pass the Sandbox API base URL as a parameter to the authorization service, otherwise you will get an error message saying your credentials are wrong.
signNow services
The second step after authorization is to create the signNow context — a container with all the services required to work with the signNow API. Of course, you can create an instance of one required service separately and work with some limited functionality (if necessary) but we recommend having one service container and working with all the functionality of the signNow API through a single point of entry.
Now let’s create the signNow context (service container) using the Token from the previous authorization step.
|
1 2 |
// Creating signNow service container var signNowContext = new SignNowContext(apiBaseUrl, token); |
Upload a document and send it for signature
Once finished with authorizing and creating the container service, you can start implementing custom scripts. For example, we want to upload a document to signNow from one of our systems, for example, a CRM, and send it for signature to a client using the client’s email. After the client signs the document, we want to upload the final document with the signature back to our system.
To implement such a scenario, we need to follow these steps:
- Get the content of the original document.
- Upload the original document to signNow and get its ID in order to be able to work with it in the future.
- Create and send an invite to the user who needs to sign the document.
- Upload the final document signed by the customer back to your system.
To do this, we will use the parts of the code shown below and add the steps required for our script.
|
1 2 3 4 5 6 7 8 9 10 11 12 13 14 15 16 17 18 19 20 21 22 23 24 25 26 27 28 29 30 31 32 33 34 35 36 37 38 39 40 41 42 43 44 45 46 47 48 49 50 51 52 53 54 55 56 57 58 59 60 61 62 63 64 65 66 67 68 69 70 71 72 73 74 75 76 77 78 79 80 81 82 83 84 85 86 87 88 89 90 91 92 93 94 95 96 97 98 99 100 101 |
using System; using System.IO; using System.Threading.Tasks; using SignNow.Net; using SignNow.Net.Model; namespace SignNow.Net.Examples { class Program { static async Task Main(string[] args) { // Step 0: Define Credentials and API base Url // SignNow API base URL. // Sandbox: "https://api-eval.signnow.com" // Production: "https://api.signnow.com" Uri apiBaseUrl = new Uri("https://api-eval.signnow.com"); // Client ID / Client Secret from your signNow API account // Client ID from your App credentials string clientId = "demo-client-id"; // Client Secret from your App credentials string clientSecret = "demo-clien-secret"; // Your user email and password string userLogin = "your-username@your-company.com"; string userPassword = "your-strong-secret"; // Step 1: Create OAuth2 service. var oauth = new OAuth2Service(apiBaseUrl, clientId, clientSecret); // Obtain access token var token = await oauth .GetTokenAsync(userLogin, userPassword, Scope.All) .ConfigureAwait(false); // Step 2: Creating signNow service container var signNowContext = new SignNowContext(apiBaseUrl, token); // User scenario with sending sign invite to a customer // to sign the document, using an email // Scenario step 1: Upload the document await using var fileStream = File .OpenRead("/path/to/your/document.pdf"); // Upload the document with field extract var uploadResponse = await signNowContext.Documents .UploadDocumentAsync(fileStream, "Example-NDA.pdf") .ConfigureAwait(false); // Get signNow document using `uploadResponse.Id;` // of previously uploaded document var documentStep1 = await signNowContext.Documents .GetDocumentAsync(uploadResponse.Id;) .ConfigureAwait(false); // Scenario step 2: // Creating sign invite and send invite to the customer // Create freeform invite to sign the document var signerEmail = "signer-email@signnow.com"; var invite = new FreeFormSignInvite(signerEmail) { Message = signerEmail + " invited you to sign the document " + documentStep1.Name, Subject = "The demo subject of the Email" }; var inviteResponse = await signNowContext.Invites .CreateInviteAsync(documentStep1.Id, invite) .ConfigureAwait(false); // Scenario step 3: Download signed document var documentStep3 = await signNowContext.Documents .GetDocumentAsync(documentStep1.Id) .ConfigureAwait(false); if (documentStep3.Status == DocumentStatus.Completed) { var documentSigned = await signNowContext.Documents .DownloadDocumentAsync( documentStep3.Id, DownloadType.PdfCollapsed) .ConfigureAwait(false); // Store signed document // using stream content - `documentSigned.Document` await using FileStream fs = new FileStream( Path.Combine("/path/to/file/", documentSigned.Filename), FileMode.CreateNew, FileAccess.Write ); await documentSigned.Document.CopyToAsync(fs); } } } } |
In this example, we have combined all parts of the code into a single unit and implemented a script that sends the document to a user for signature. After that, the signed document can be uploaded back to your system or saved as a file in a repository. You can see more examples in the signNow .NET SDK GitHub repository.
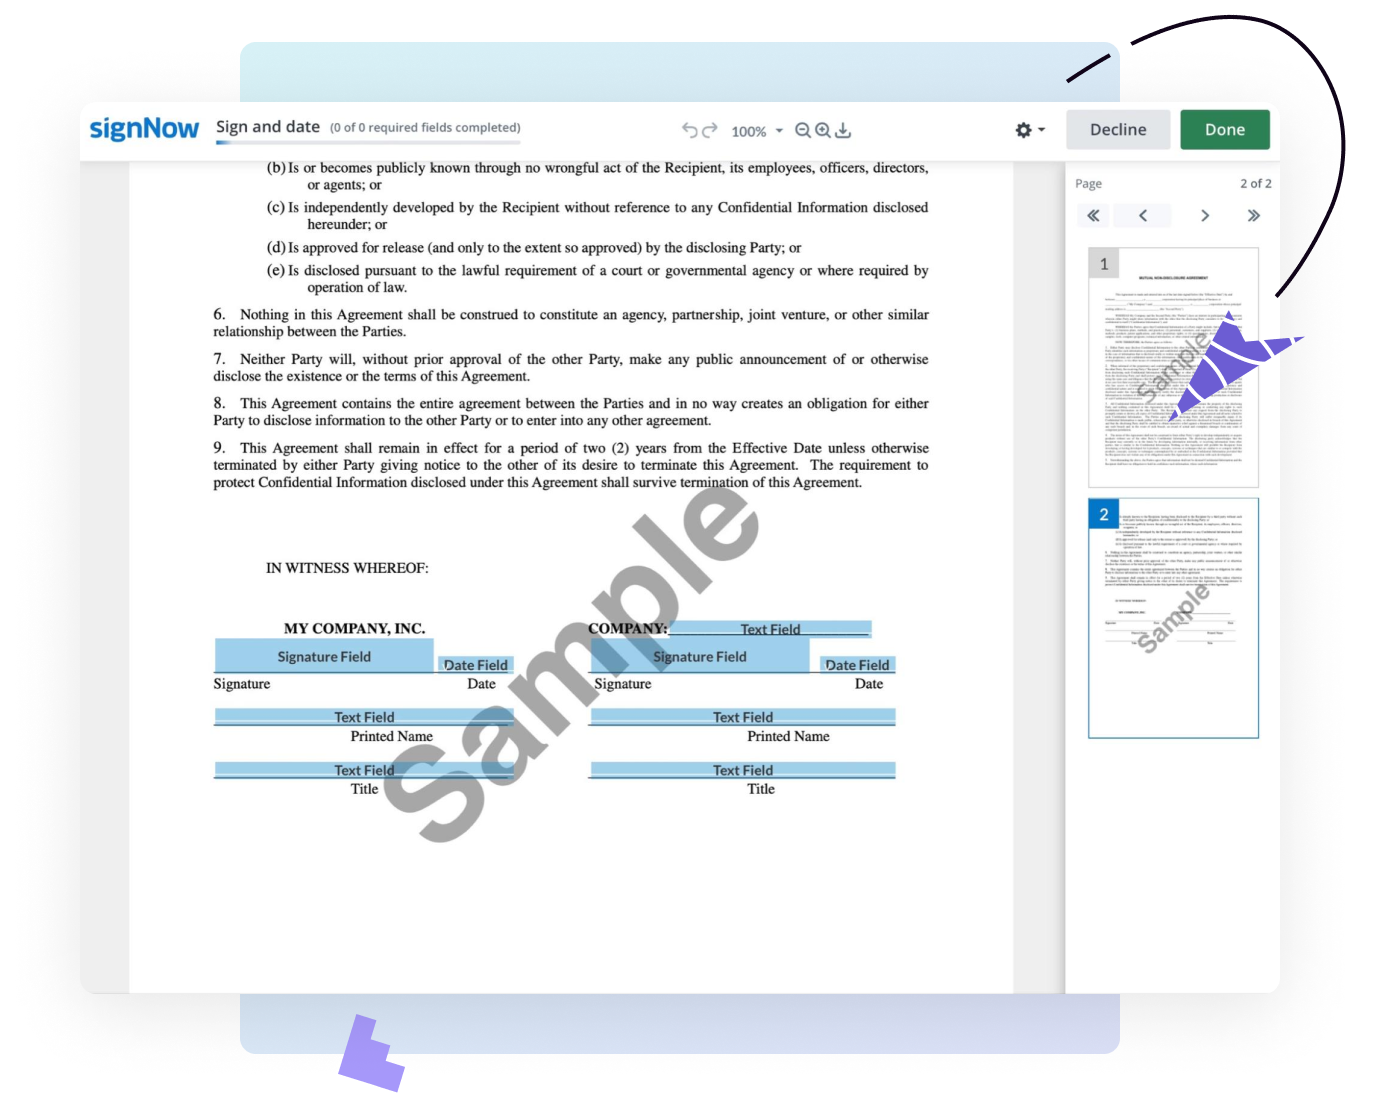
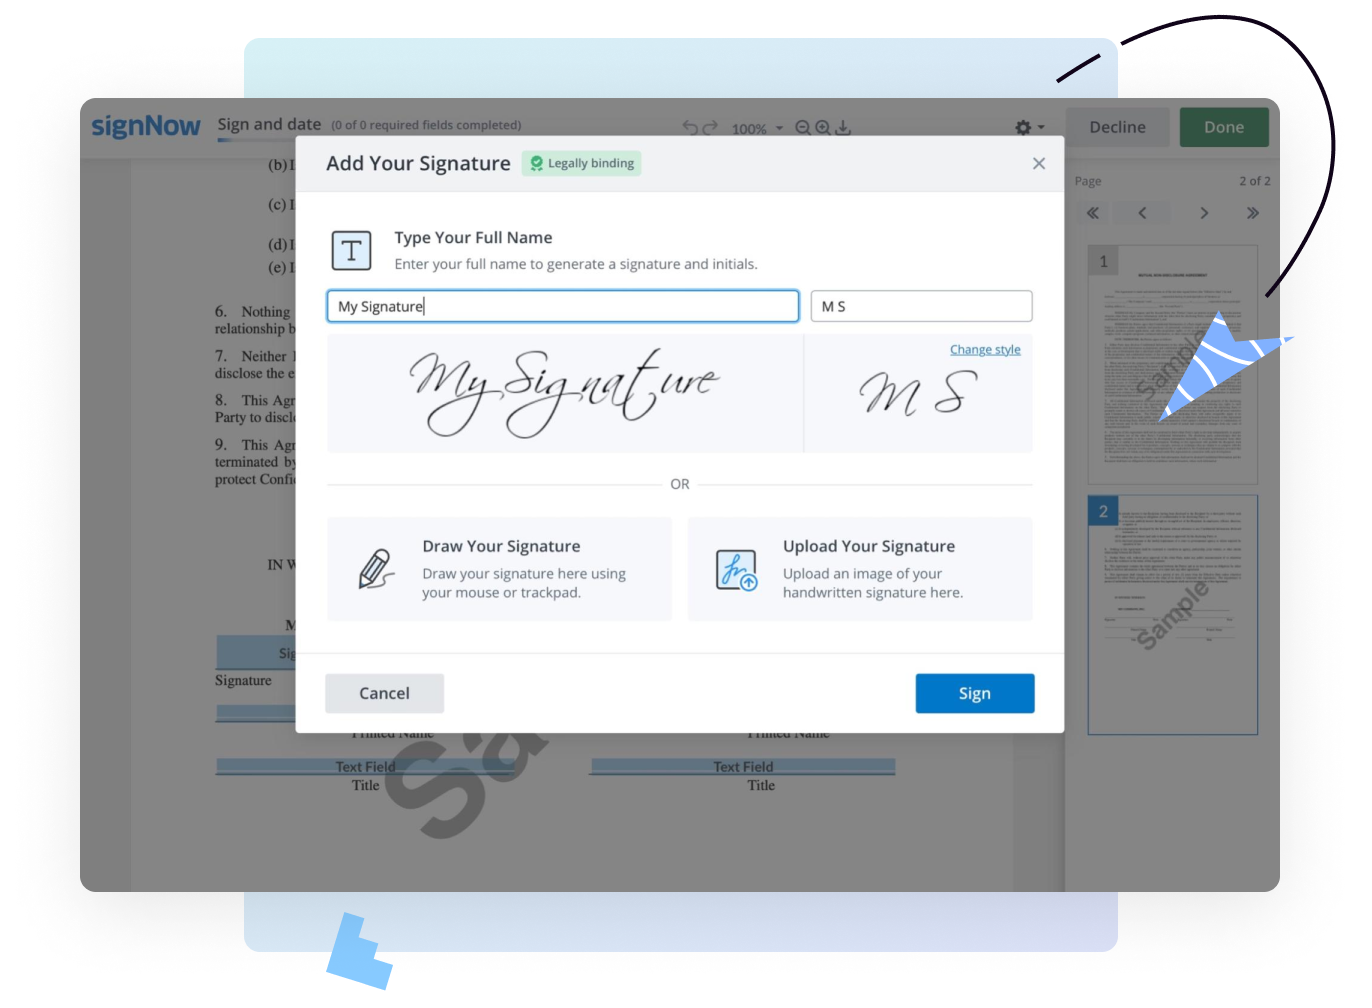
The images below illustrate the steps a signer will take. After a signature request has been sent, the signer can open the invitation link from the email and sign or decline the document.

Once finished, it’s possible to download the final document with the customer’s signature.

Using the .NET SDK to build with the signNow eSignature API
The signNow .NET SDK is a great way to improve efficiency and accelerate eSignature API deployment for developers building applications to meet their business’s needs. Whether you’re building for signature requests or embedded signing, the .NET SDK offers quick, flexible, and scalable access to the signNow API endpoints using the built-in methods.
To learn more about the signNow API and start testing, see the signNow Documentation.
Ready to integrate signNow eSignature into your document workflows?

